17 Aug


Posted By
0 Comment(s)
438 View(s)
How to Install a Commercial Kitchen Canopy: A Simple Guide
Installing a commercial kitchen canopy is essential for maintaining a safe and efficient cooking environment. This guide will walk you through the basic steps, even if you're not a professional installer. Always remember that if you're unsure at any point, it's best to consult with or hire a professional.
Step 1: Plan the Installation
- Measure Your Space: Measure the area where the canopy will be installed. Make sure it fits above the cooking equipment and leaves enough clearance for proper ventilation.
- Check Regulations: Verify local building codes and regulations. Some areas require specific clearances and types of canopies. Make sure you're compliant.
- Gather Materials and Tools: You’ll need a canopy, mounting brackets, screws, anchors, ductwork, and tools like a drill, screwdriver, level, and tape measure.
Step 2: Prepare the Area
- Turn Off Power: If any electrical work is involved, turn off the power to the area where you'll be working.
- Mark the Location: Using a pencil and a level, mark where the canopy will be mounted on the wall. Make sure it's centered above your cooking equipment.
- Locate Wall Studs: Find the studs in the wall where you'll be mounting the canopy. This will ensure a secure installation.
Step 3: Install the Canopy
- Attach Mounting Brackets: Secure the mounting brackets to the wall where you've marked the locations. Use screws and anchors if you're not attaching directly to studs.
- Lift and Secure the Canopy: With help, lift the canopy into place and attach it to the mounting brackets. Ensure it’s level and secure by tightening all screws.
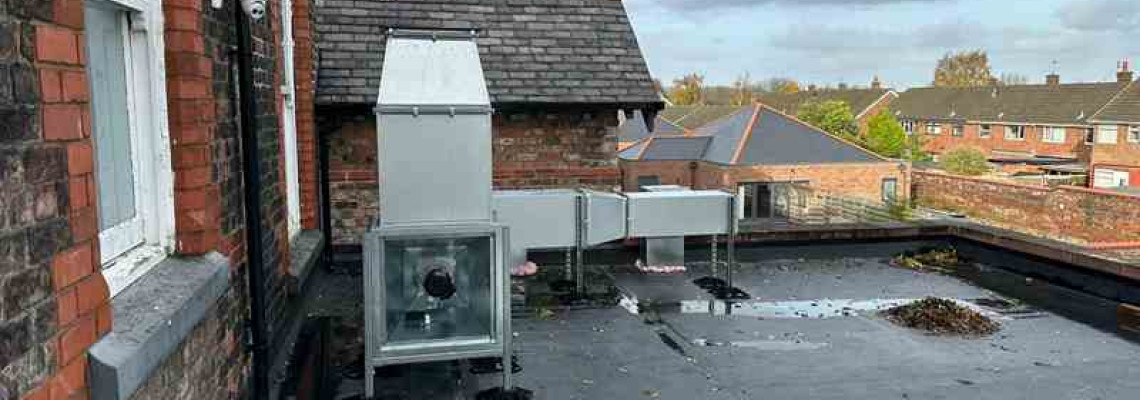
- Connect the Ductwork: Attach the ductwork to the canopy and secure it with metal tape or clamps. This ductwork will vent smoke and fumes outside, so ensure all connections are tight and there are no leaks.
- Install Filters and Grease Traps: Insert the filters and grease traps into the canopy. These need to be cleaned regularly, so make sure they're accessible.
Step 4: Connect to Electrical and Ventilation Systems
- Electrical Hookup (if needed): If your canopy has built-in lighting or fans, you’ll need to connect it to the electrical system. If you're not comfortable doing this, hire an electrician.
- Test Ventilation: Turn on the fan to ensure it's drawing air through the canopy and out through the ductwork. You should feel a steady flow of air being pulled up from the cooking surface.
Step 5: Final Checks
- Inspect the Installation: Double-check all the connections, ensuring everything is secure and there are no leaks in the ductwork.
- Test the System: Turn on all systems—fans, lights, etc.—and make sure everything works as it should.
- Clean Up: Remove any debris or tools from the area. Your canopy is now ready for use!
Safety Tips:
- Always Wear Safety Gear: Use gloves, safety glasses, and a dust mask during installation.
- Don’t Work Alone: Canopies are heavy and awkward to handle. Always have at least one other person to help with lifting and positioning.
When to Call a Professional:
- If you're unsure about any part of the installation, especially electrical work, it’s safer to hire a professional.
- Complex installations, such as those involving custom ductwork or high ceilings, often require professional expertise.
By following these steps, you can install a commercial kitchen canopy that will help keep your kitchen safe, clean, and compliant with local regulations. Remember, when in doubt, always consult a professional to ensure a safe and successful installation.
